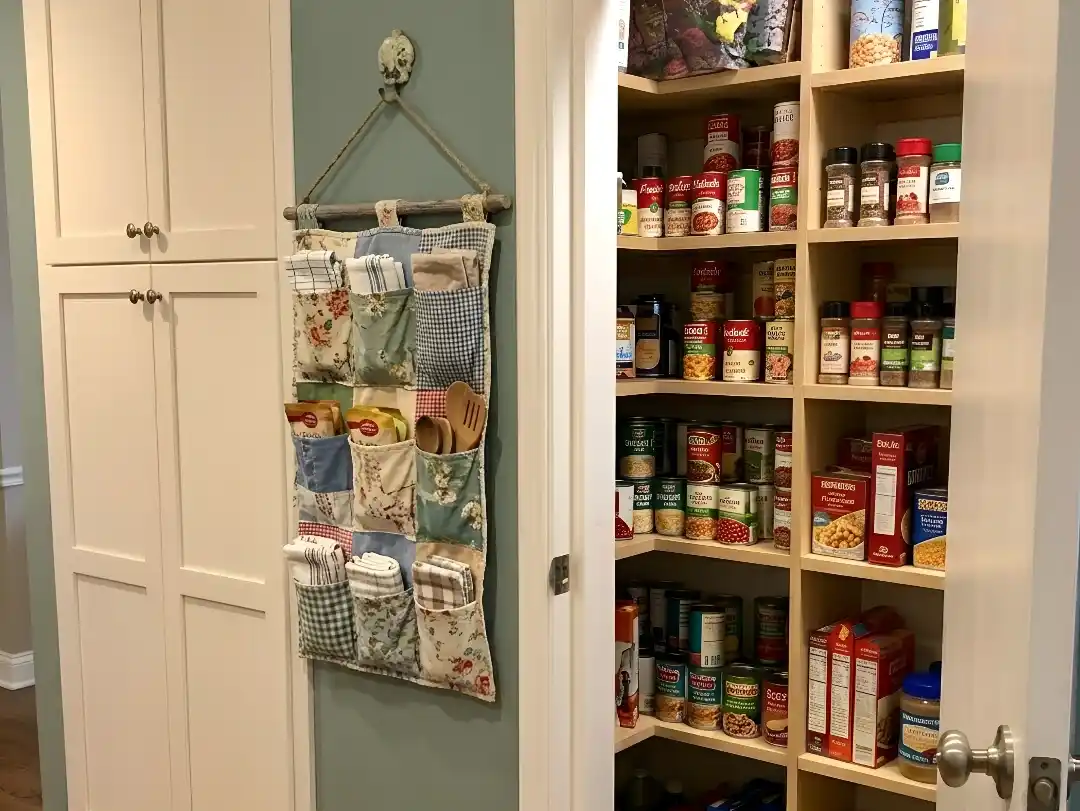
Have an old bedsheet sitting unused in your closet? Before you throw it away, take a look at this clever idea. With a few simple steps, you can turn that forgotten piece of fabric into a useful hanging organizer for your kitchen or pantry.
In this guide, I’ll show you how to make this project at home from start to finish—including how to prepare the bedsheet, measure and cut the fabric, create the pockets, sew everything together, and hang it properly.
It’s an easy way to give an old household item a completely new purpose. And once you’ve followed the steps, you’ll be able to see the finished result at the end of the guide.
1. Why an Old Bedsheet Is Perfect for This DIY
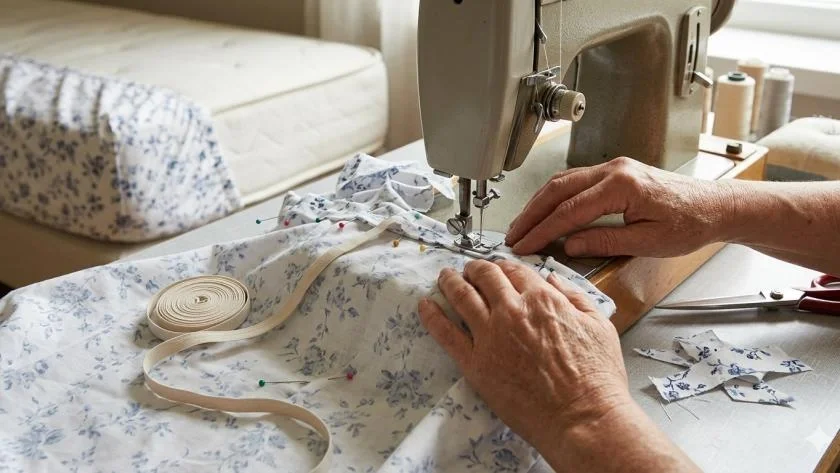
The idea behind this project is wonderfully simple: take something you already have and turn it into something useful.
Old bedsheets are particularly handy for this kind of DIY because they usually provide a large amount of fabric. Instead of trying to piece together several small scraps, you can often cut one sheet into the pieces you need.
Cotton and cotton-blend sheets are especially convenient because they’re lightweight, flexible, and relatively easy to cut and sew.
You also don’t have to use a perfectly beautiful sheet.
In fact, this is a great project for a sheet that has become too worn for the bed but still has plenty of usable fabric left.
Look for one without major tears, extensive thinning, or damaged sections. Small imperfections won’t matter because you can simply work around them when cutting your pieces.
And there’s another reason this idea is so appealing.
You’re not just making storage—you’re keeping perfectly usable fabric out of the trash.
A bedsheet that has been sitting unused in a linen closet can suddenly become part of your kitchen organization instead.
2. What You’ll Need Before You Start
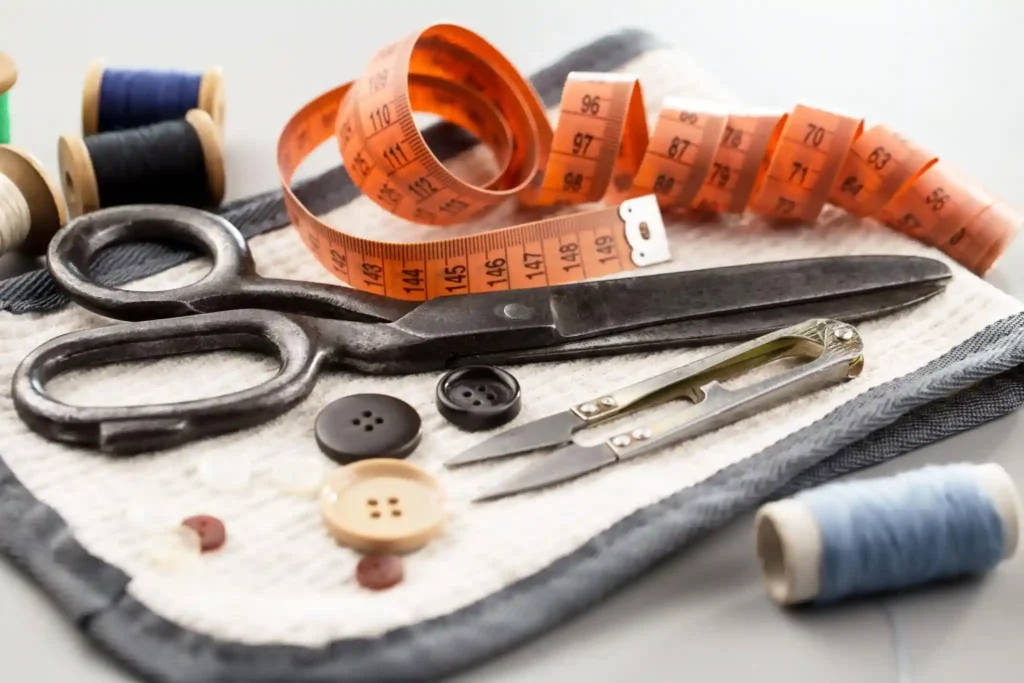
You don’t need a huge collection of craft supplies for this project.
Start with the old bedsheet itself and gather a few basic items:
- An old bedsheet — preferably cotton or a sturdy cotton blend
- Fabric scissors for clean cuts
- A measuring tape or ruler
- Sewing thread that works with the fabric
- Pins or fabric clips
- A sewing machine or needle, depending on how you want to make it
- A pencil or washable fabric marker for marking measurements
- An iron, if needed, to flatten the fabric before cutting
If your version of the organizer needs a hanging loop, you can also save a narrow strip of the same bedsheet rather than buying separate fabric.
That keeps the project inexpensive and gives the finished piece a more consistent look.
Before cutting anything, wash the sheet.
This is a small step that can save you trouble later. Fabric can change slightly after washing, and starting with clean material also makes much more sense for something that will eventually live in your pantry.
Once it’s dry, iron it if it’s heavily wrinkled.
You want your measurements to be based on flat fabric, not a sheet covered in folds.
3. Measure the Pantry Space Before You Cut the Fabric
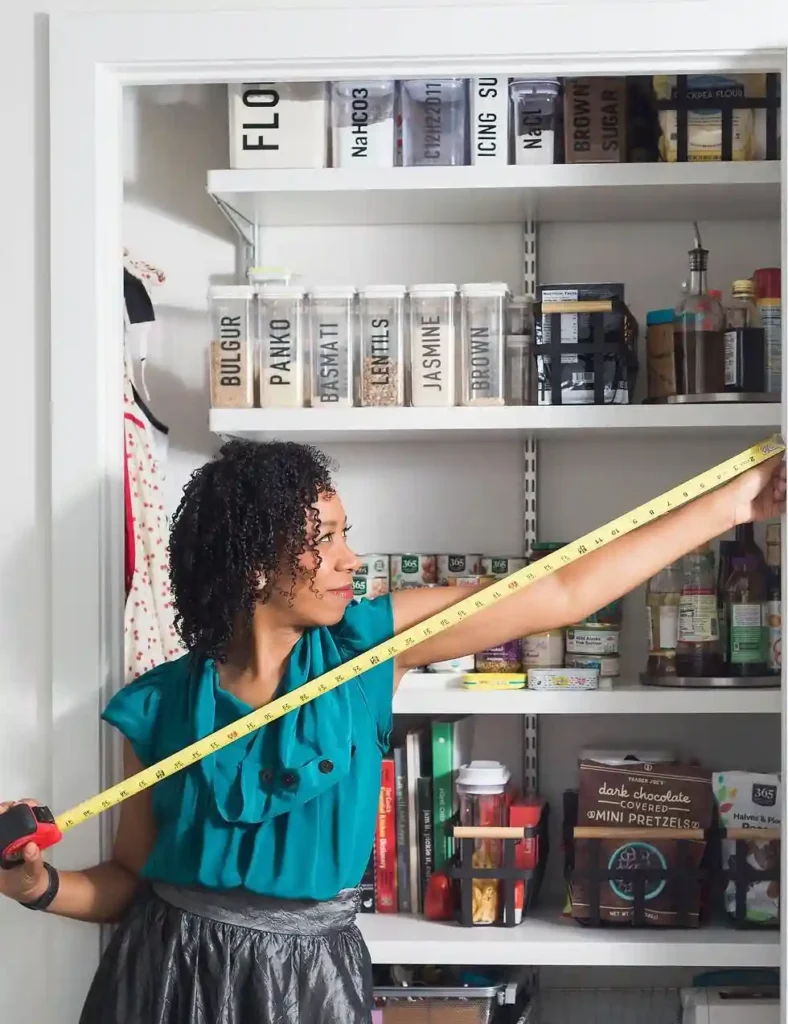
This is the step that’s easiest to skip—and one of the easiest ways to end up with an organizer that doesn’t fit.
Before cutting the bedsheet, decide exactly where the finished organizer will live.
Measure the available height and width of the pantry area.
If you’re planning to hang it inside a cabinet, pay attention to the cabinet door and shelves as well. An organizer that fits perfectly when the door is open isn’t useful if it prevents the door from closing.
It’s also worth thinking about what you actually want to store.
Lightweight pantry items may require only a simple fabric pocket.
Heavier items will need more support.
So don’t decide on the dimensions based solely on how much fabric you have available.
Decide based on where it will go and what it needs to hold.
A simple trick is to use a piece of paper or an old towel as a temporary template.
Hold it in the pantry where you want the organizer to sit and adjust the size before touching your bedsheet with scissors.
That few-minute test can prevent a lot of wasted fabric.
4. Cut the Bedsheet Into the Pieces You Need

Once you’ve decided on the size, lay the bedsheet completely flat on a clean surface.
Use your measurements to mark the fabric before cutting.
Try to keep your lines as straight as possible. Uneven cuts can make the finished organizer look crooked and can make sewing the edges more difficult.
If you’re creating a simple hanging organizer with pockets, you’ll generally need:
A main fabric panel
This forms the back of the organizer.
Pocket pieces
These create the sections where your pantry items will sit.
A hanging strip or loop
This allows the finished organizer to be attached where you want it.
The exact number and size of the pockets can be adjusted according to your pantry.
For example, small pockets make sense for lightweight packets or little kitchen items, while wider sections are more useful for larger objects.
Don’t feel like you have to copy someone else’s measurements exactly.
Your pantry should determine the size of your organizer—not the other way around.
Pro Tip
Before sewing the pockets permanently, lay all of the cut pieces on top of the main panel and place a few sample pantry items on them.
This lets you test the pocket sizes and spacing before you commit to the stitching.
It’s much easier to move a piece of fabric on a table than to remove a row of stitches later.
5. Sew the Pockets Onto the Main Fabric Panel
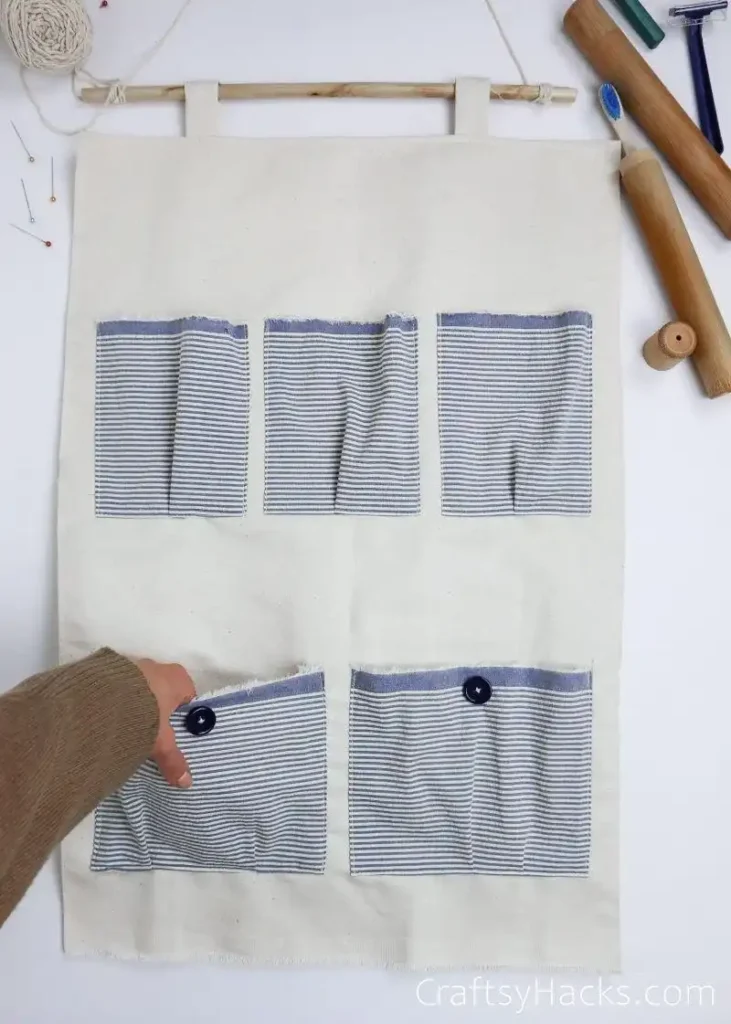
Now comes the part where the flat pieces of bedsheet finally start looking like an actual organizer.
Lay your main fabric panel flat and arrange the pocket pieces exactly where you want them. Keep the bottom edges aligned and make sure the pockets are evenly spaced.
Once you’re happy with the arrangement, pin or clip each pocket into position.
Before sewing, fold or press the raw edges of the pocket pieces inward. This gives the finished organizer a cleaner appearance and helps prevent the fabric from fraying.
Then sew the pockets onto the main panel.
For a stronger result, sew along the bottom and both side edges of each pocket while leaving the top open. The open section becomes the actual storage space.
If you’re using a sewing machine, a straight stitch is generally enough for a simple lightweight organizer. For areas that will carry a little more weight, you can reinforce the stitching rather than relying on one thin line.
Take your time around the corners.
Those small areas receive more stress whenever something is placed into or removed from a pocket, so a few extra stitches can make the organizer more durable.
And don’t worry if your first attempt isn’t perfectly symmetrical.
This is an upcycling project, not a factory-made storage system. A neat, sturdy finish matters much more than achieving absolute perfection.
6. Create a Strong Way to Hang the Organizer
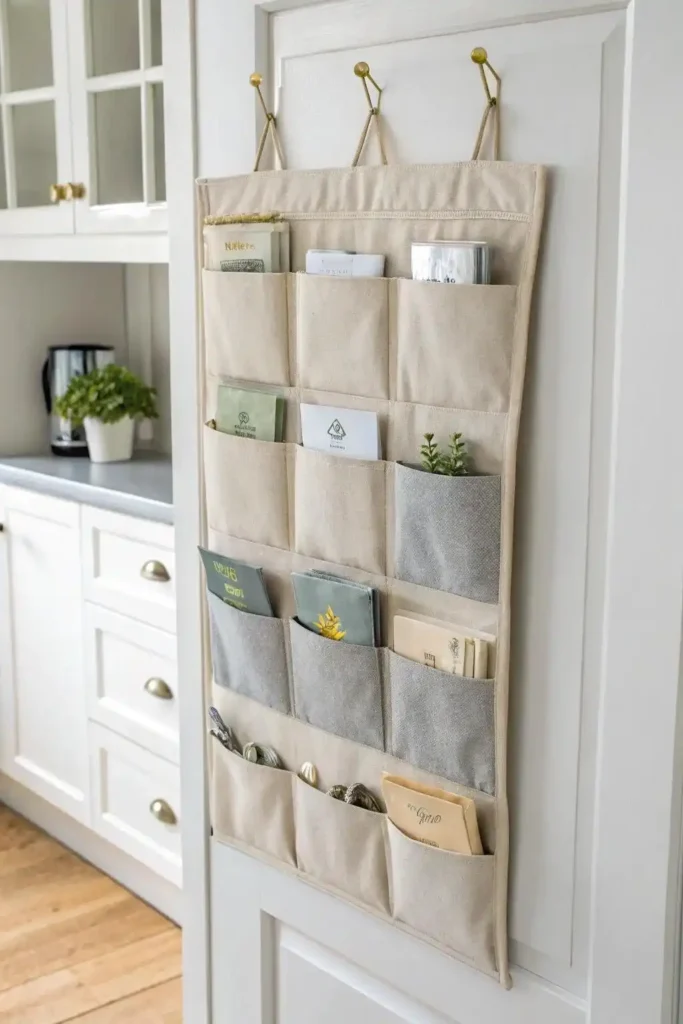
A fabric organizer is only useful if it can stay securely in place.
The simplest approach is to create fabric loops or straps from leftover pieces of the bedsheet.
Cut narrow strips, fold the edges inward, and stitch them securely so they form strong attachment points.
The exact hanging method depends on where you want to use the organizer.
For example, it could be attached to the inside of a pantry or cabinet door if there is enough clearance. It could also work on a suitable hook or another secure support.
Before choosing the attachment point, check how much weight the organizer will carry.
A bedsheet is flexible fabric, so it’s better suited to lightweight pantry storage than heavy cans, glass jars, or large bottles.
This is also where reinforcing the top edge becomes important.
Fold the top edge of the main panel over and stitch it securely. If you’re adding loops, sew them into this reinforced area rather than attaching them to a single thin layer of fabric.
That spreads the weight more effectively.
Once the hanging section is finished, test it before filling the pockets.
Hang it up and gently pull downward to make sure the attachment points feel secure.
7. Finish the Edges and Give Your Organizer a Clean Look
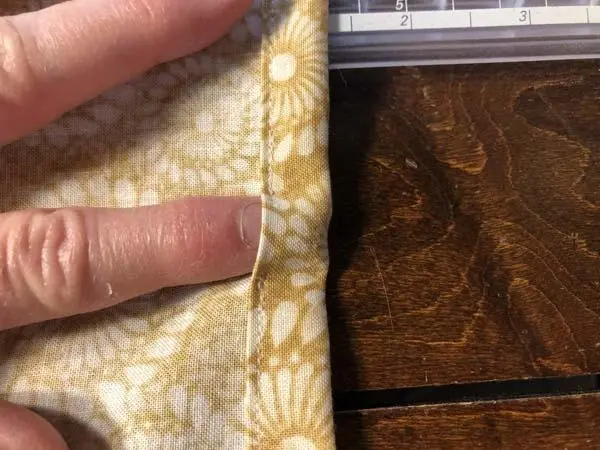
You’ve already done the hardest part, but a few finishing touches can make a big difference.
Look around the organizer for any exposed raw edges.
If you see fabric edges that could fray, fold them inward and stitch them down. This not only makes the organizer look more finished but can also help it hold up better after repeated use.
You can also press the finished seams with an iron.
A quick press can flatten uneven areas and make the entire organizer look much neater.
Before putting anything inside, inspect the stitching around the pockets and hanging points.
Give each pocket a gentle tug.
If anything feels loose, reinforce it now.
It’s much easier to fix a weak seam while the organizer is still empty than after you’ve filled it with pantry items.
And if you’re making this for a visible part of your kitchen, don’t be afraid to make it look intentional.
A patterned bedsheet can create a fun decorative organizer, while a plain sheet can give you a simple neutral look.
You can even use leftover fabric to create small matching loops or trim.
The whole point of this project is that something old doesn’t have to look old when you give it a thoughtful second use.
8. Put It to Work in Your Pantry
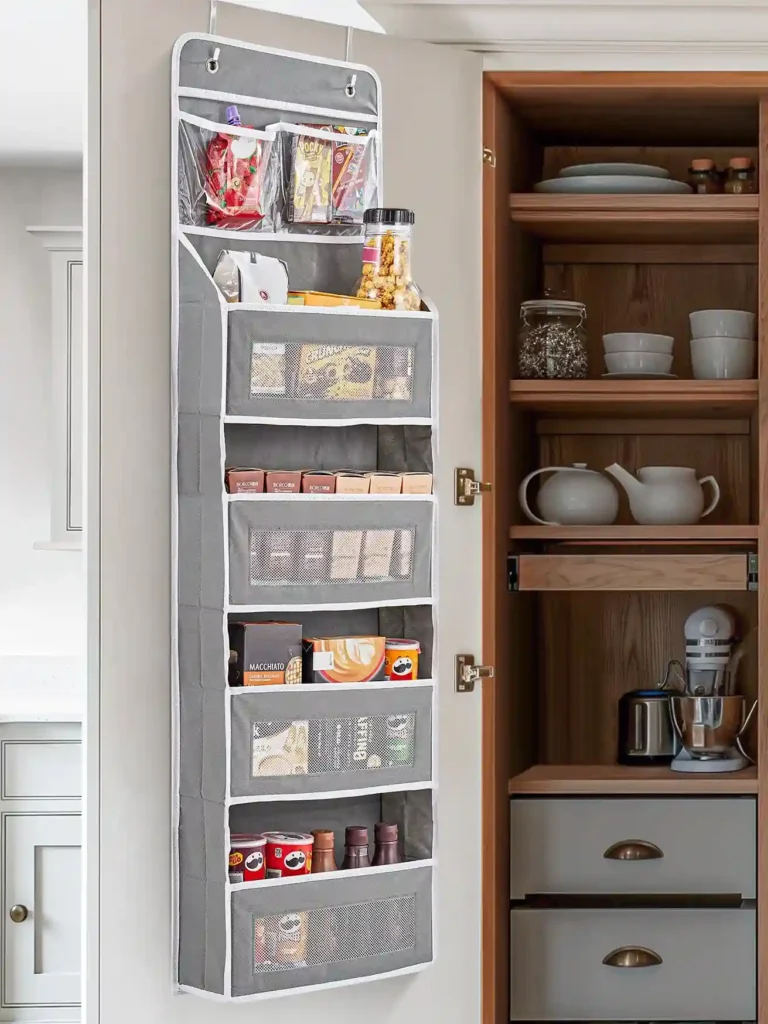
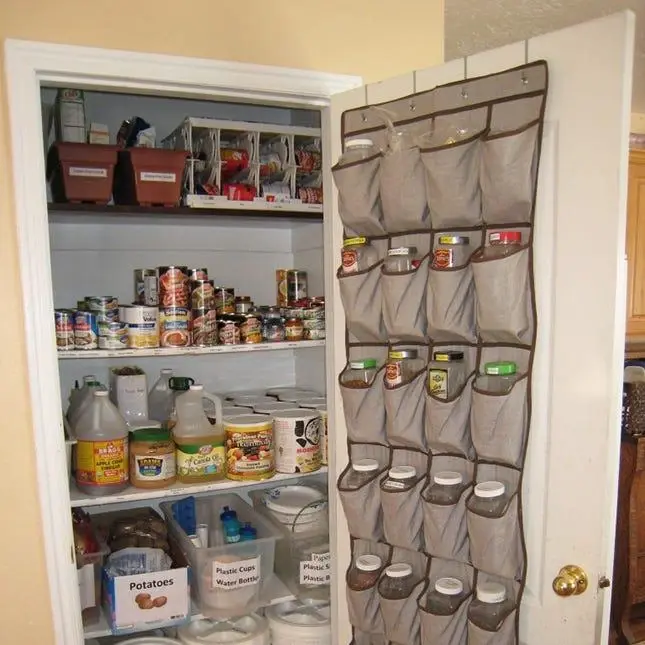
Once your organizer is hanging securely, resist the temptation to fill every pocket with whatever happens to be nearby.
Instead, think about the small things in your pantry that are always difficult to organize.
Individual snack packets can work well.
Small baking supplies can have their own section.
Lightweight seasoning packets, reusable kitchen bags, small food-storage accessories, or other loose items can also benefit from having a designated pocket.
The key word here is lightweight.
This type of fabric organizer shouldn’t be treated like a heavy-duty shelf. Avoid loading it with cans, glass containers, large bottles, or anything that could cause the fabric or attachment points to fail.
You can also organize the pockets according to frequency of use.
Keep the things you reach for every day in the easiest-to-access sections, while less frequently used items can go higher or farther back.
That turns the project from a simple craft into something that can genuinely make a pantry easier to manage.
9. Make the DIY Work for Your Own Kitchen
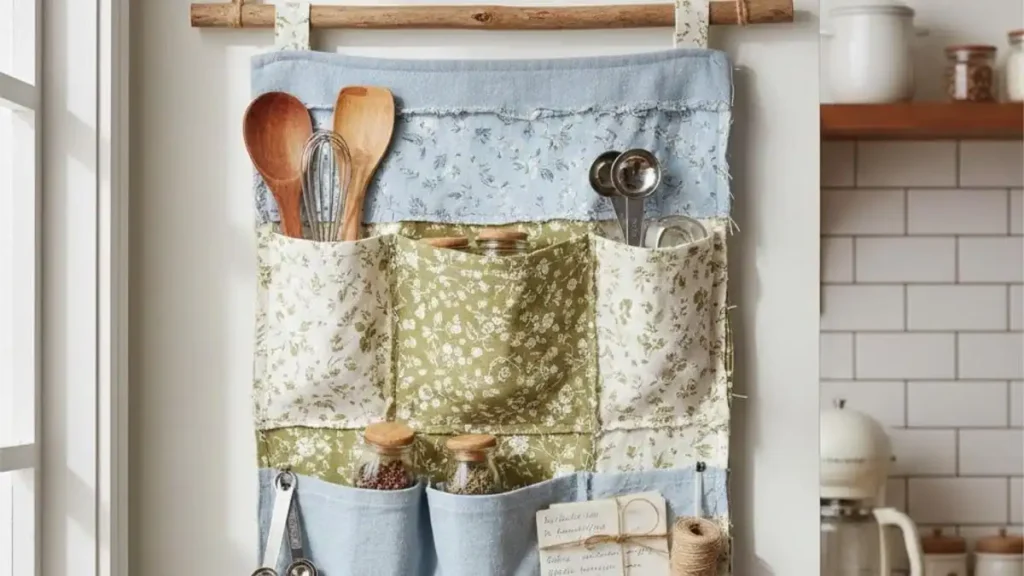
One of the best things about making an organizer yourself is that you don’t have to follow one fixed design.
If your pantry is narrow, make the panel narrower.
If you need more small pockets, divide the lower section into additional compartments.
If you mostly store larger lightweight items, make fewer pockets with more space between them.
You can even make more than one organizer from a large bedsheet if you plan the cuts carefully.
This is where the project becomes much more useful than simply buying a standard organizer.
Store-bought products are designed around average kitchens.
Your homemade version can be designed around your kitchen.
And because you’re working with an old sheet, experimenting doesn’t have to feel expensive.
If the first version isn’t quite right, you can adjust the measurements and try again with another section of fabric.
The goal isn’t to recreate someone else’s pantry perfectly.
It’s to take the clever idea from the Pinterest pin and make a version that actually solves your own storage problem.
A Simple Final Check Before You Use It
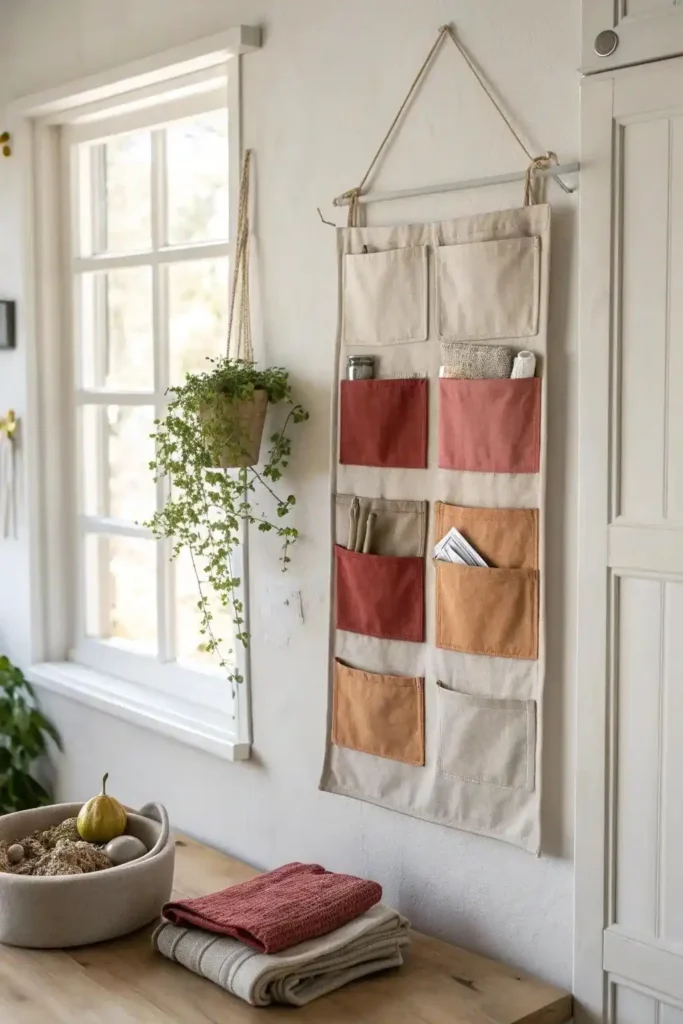
Before you consider the project finished, take a minute to check four things:
Are the seams secure?
Give the pockets and hanging points a gentle pull.
Does it hang straight?
An uneven organizer can become annoying once you start using it.
Does the cabinet or pantry door still close properly?
This is especially important if the organizer is attached to the inside of a door.
Are you keeping the contents lightweight?
The bedsheet fabric may be strong enough for small everyday items, but it isn’t designed to replace a rigid pantry shelf.
Once everything checks out, start with just a few items and see how the organizer behaves.
You can always adjust the contents later.
And that’s what makes this little DIY so clever: an old bedsheet that might have been forgotten in a closet can become a useful piece of kitchen organization with a few basic supplies, some careful measuring, and a little sewing.
It doesn’t need to be expensive.
It doesn’t need to be perfect.
It just needs to work for you.
Here’s What the Finished Organizer Can Look Like
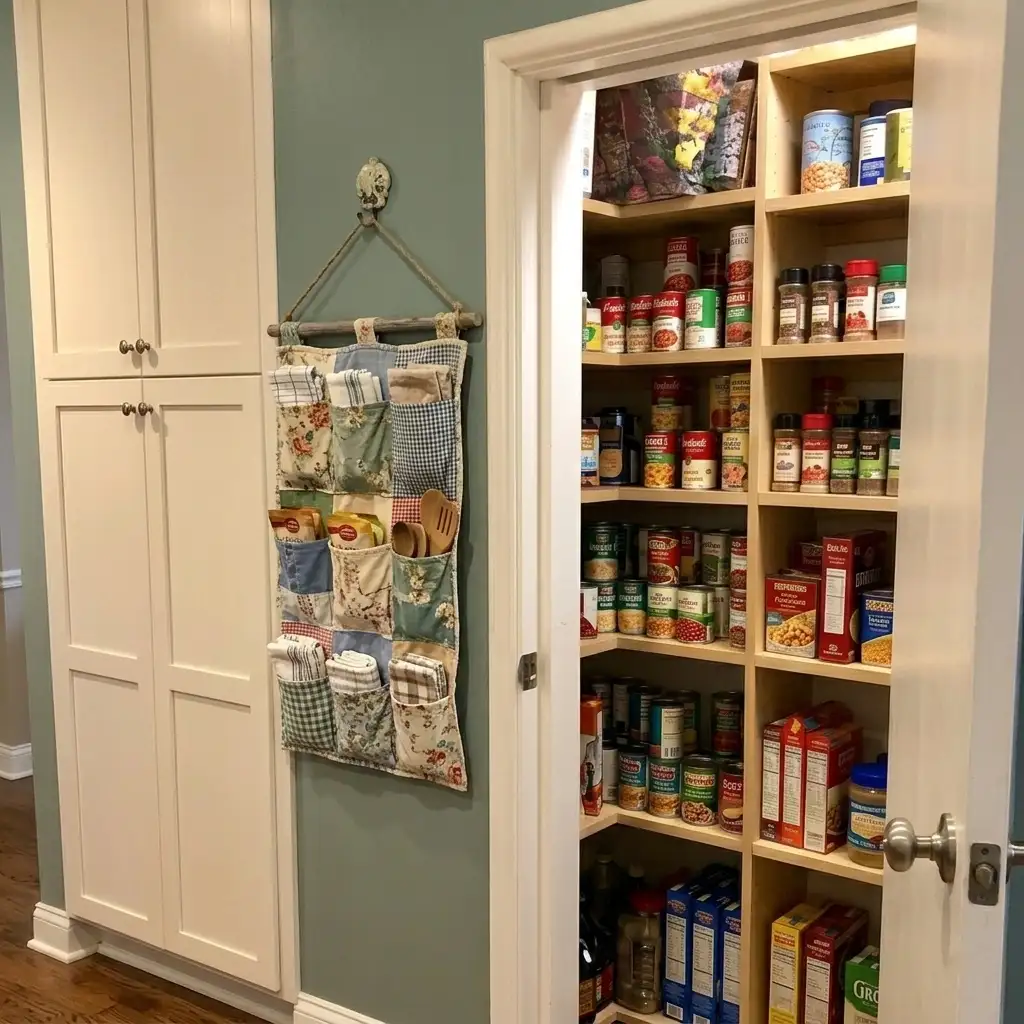
Seeing the finished result makes the idea even more satisfying. An old bedsheet that might have been sitting unused can become a practical hanging organizer that gives small kitchen and pantry items their own place.